iOS Tabbar中间添加凸起可旋转按钮功能,iostabbar
iOS Tabbar中间添加凸起可旋转按钮功能,iostabbar
最近的项目中有需求在tabbar中间添加凸起按钮,并且点击时按钮要旋转,看了仿斗鱼的凸起,点击后是present出来View,而不是像常规的tabbar上添加一个页面,所以不符合要求,经过一段摸索最后得的一个比较好的效果,下面看效果图
![效果图.gif]
##需求分析
* tabbar有5个item,每个对应一个页面
* 中间item为凸起按钮
* 中间按钮点击后旋转
##效果实现
* 设置5个item
我们一步步来解决这个问题,首先创建MCTabBarController继承UITabBarController,然后和常规一样创建5个item,中间的按钮不设置图片,代码如下
//MCTabBarController.m
//添加子控制器
- (void)addChildViewControllers{
 //图片大小建议32*32
 [self addChildrenViewController:[[ViewController alloc] init] andTitle:@"首页" andImageName:@"tab1_n" andSelectImage:@"tab1_p"];
 [self addChildrenViewController:[[ViewController alloc] init] andTitle:@"扩展" andImageName:@"tab2_n" andSelectImage:@"tab2_p"];
 //中间这个不设置东西,只占位
 [self addChildrenViewController:[[ViewController alloc] init] andTitle:@"旋转" andImageName:@"" andSelectImage:@""];
 [self addChildrenViewController:[[ViewController alloc] init] andTitle:@"发现" andImageName:@"tab3_n" andSelectImage:@"tab3_p"];
 [self addChildrenViewController:[[ViewController alloc] init] andTitle:@"我" andImageName:@"tab4_n" andSelectImage:@"tab4_p"];
}
- (void)addChildrenViewController:(UIViewController *)childVC andTitle:(NSString *)title andImageName:(NSString *)imageName andSelectImage:(NSString *)selectedImage{
 childVC.tabBarItem.image = [UIImage imageNamed:imageName];
 childVC.tabBarItem.selectedImage = [UIImage imageNamed:selectedImage];
 childVC.title = title;

 BaseNavigationController *baseNav = [[BaseNavigationController alloc] initWithRootViewController:childVC];

 [self addChildViewController:baseNav];
}
这样实现的效果如下图所示
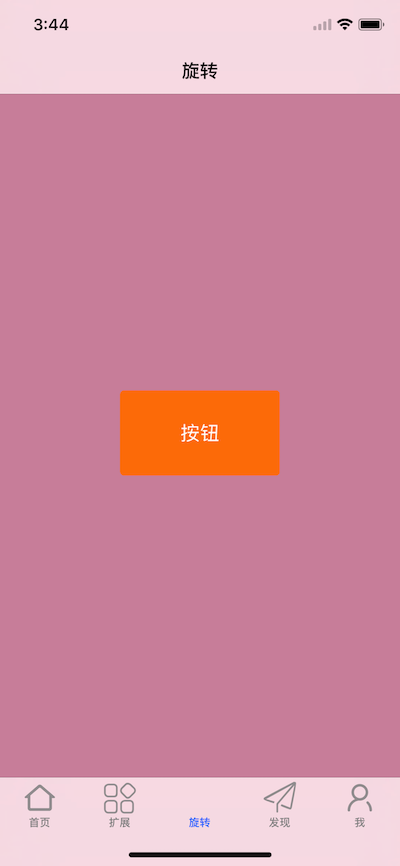
[图一.png]
* 添加凸起按钮
我们可以在UITabBar上添加我们的凸起按钮,让他的位置在没有设置的中间按钮偏上,按钮的点击和中间按钮点击绑定,这里直接在MCTabBarController.m中添加会有问题
1、因为凸起按钮的frame超出了UITabBar的frame,这样超出的区域点击按钮会没有响应(图二红框区域),原因和解决办法详情参考我的这篇[iOS UIButton 点击无响应的解决办法](http://www.bkjia.com/article/131227.htm),由于要在UITabBar上添加凸起按钮,并且处理点击无效的问题,所以这里创建了MCTabBar继承UITabBar

[图二.png]
2、由于UITabBar是readonly的,所以我们不能直接对他进行赋值,这里利用KVC访问私有变量将MCTabBar赋值给"tabBar"
**具体实现**
MCTabBar
```
#import
@interface MCTabBar : UITabBar
@property (nonatomic, strong) UIButton *centerBtn; //中间按钮
@end
```
```
@implementation MCTabBar
- (instancetype)init{
 if (self = [super init]){
 [self initView];
 }
 return self;
}
- (void)initView{
 _centerBtn = [UIButton buttonWithType:UIButtonTypeCustom];
 // 设定button大小为适应图片
 UIImage *normalImage = [UIImage imageNamed:@"tabbar_add"];
 _centerBtn.frame = CGRectMake(0, 0, normalImage.size.width, normalImage.size.height);
 [_centerBtn setImage:normalImage forState:UIControlStateNormal];
 //去除选择时高亮
 _centerBtn.adjustsImageWhenHighlighted = NO;
 //根据图片调整button的位置(图片中心在tabbar的中间最上部,这个时候由于按钮是有一部分超出tabbar的,所以点击无效,要进行处理)
 _centerBtn.frame = CGRectMake(([UIScreen mainScreen].bounds.size.width - normalImage.size.width)/2.0, - normalImage.size.height/2.0, normalImage.size.width, normalImage.size.height);
 [self addSubview:_centerBtn];
}
//处理超出区域点击无效的问题
- (UIView *)hitTest:(CGPoint)point withEvent:(UIEvent *)event{
 UIView *view = [super hitTest:point withEvent:event];
 if (view == nil){
 //转换坐标
 CGPoint tempPoint = [self.centerBtn convertPoint:point fromView:self];
 //判断点击的点是否在按钮区域内
 if (CGRectContainsPoint(self.centerBtn.bounds, tempPoint)){
  //返回按钮
  return _centerBtn;
 }
 }
 return view;
}
```
利用KVC赋值
```
//MCTabBarController.m
- (void)viewDidLoad {
 [super viewDidLoad];

 _mcTabbar = [[MCTabBar alloc] init];
 [_mcTabbar.centerBtn addTarget:self action:@selector(buttonAction:) forControlEvents:UIControlEventTouchUpInside];
 //选中时的颜色
 _mcTabbar.tintColor = [UIColor colorWithRed:27.0/255.0 green:118.0/255.0 blue:208/255.0 alpha:1];
 //透明设置为NO,显示白色,view的高度到tabbar顶部截止,YES的话到底部
 _mcTabbar.translucent = NO;
 //利用KVC 将自己的tabbar赋给系统tabBar
 [self setValue:_mcTabbar forKeyPath:@"tabBar"];

 self.delegate = self;
 [self addChildViewControllers];
}
```
* 点击旋转
在中间按钮的点击事件执行时旋转第二个index,然后执行旋转动画,
在tabbar的代理事件中监听旋中中间按钮的事件,然后执行旋转动画,其他按钮则移除动画,代码如下
```
- (void)buttonAction:(UIButton *)button{
 self.selectedIndex = 2;//关联中间按钮
 [self rotationAnimation];
}
//tabbar选择时的代理
- (void)tabBarController:(UITabBarController *)tabBarController didSelectViewController:(UIViewController *)viewController{
 if (tabBarController.selectedIndex == 2){//选中中间的按钮
 [self rotationAnimation];
 }else {
 [_mcTabbar.centerBtn.layer removeAllAnimations];
 }
}
//旋转动画
- (void)rotationAnimation{
 CABasicAnimation *rotationAnimation = [CABasicAnimation animationWithKeyPath:@"transform.rotation.z"];
 rotationAnimation.toValue = [NSNumber numberWithFloat:M_PI*2.0];
 rotationAnimation.duration = 3.0;
 rotationAnimation.repeatCount = HUGE;
 [_mcTabbar.centerBtn.layer addAnimation:rotationAnimation forKey:@"key"];
}
```
* 其他
这里写了BaseNavigationController继承自UINavigationController,处理了push后隐藏底部UITabBar的情况,并解决了iPhonX上push时UITabBar上移的问题。
最后,附上Demo地址,如果对你有所帮助,不要吝啬你的Star✨哦![MCTabBarDemo]
(https://github.com/Ccalary/MCTabBarDemo)
总结
以上所述是小编给大家介绍的iOS Tabbar中间添加凸起可旋转按钮功能,希望对大家有所帮助,如果大家有任何疑问请给我留言,小编会及时回复大家的。在此也非常感谢大家对帮客之家网站的支持!
用户评论